
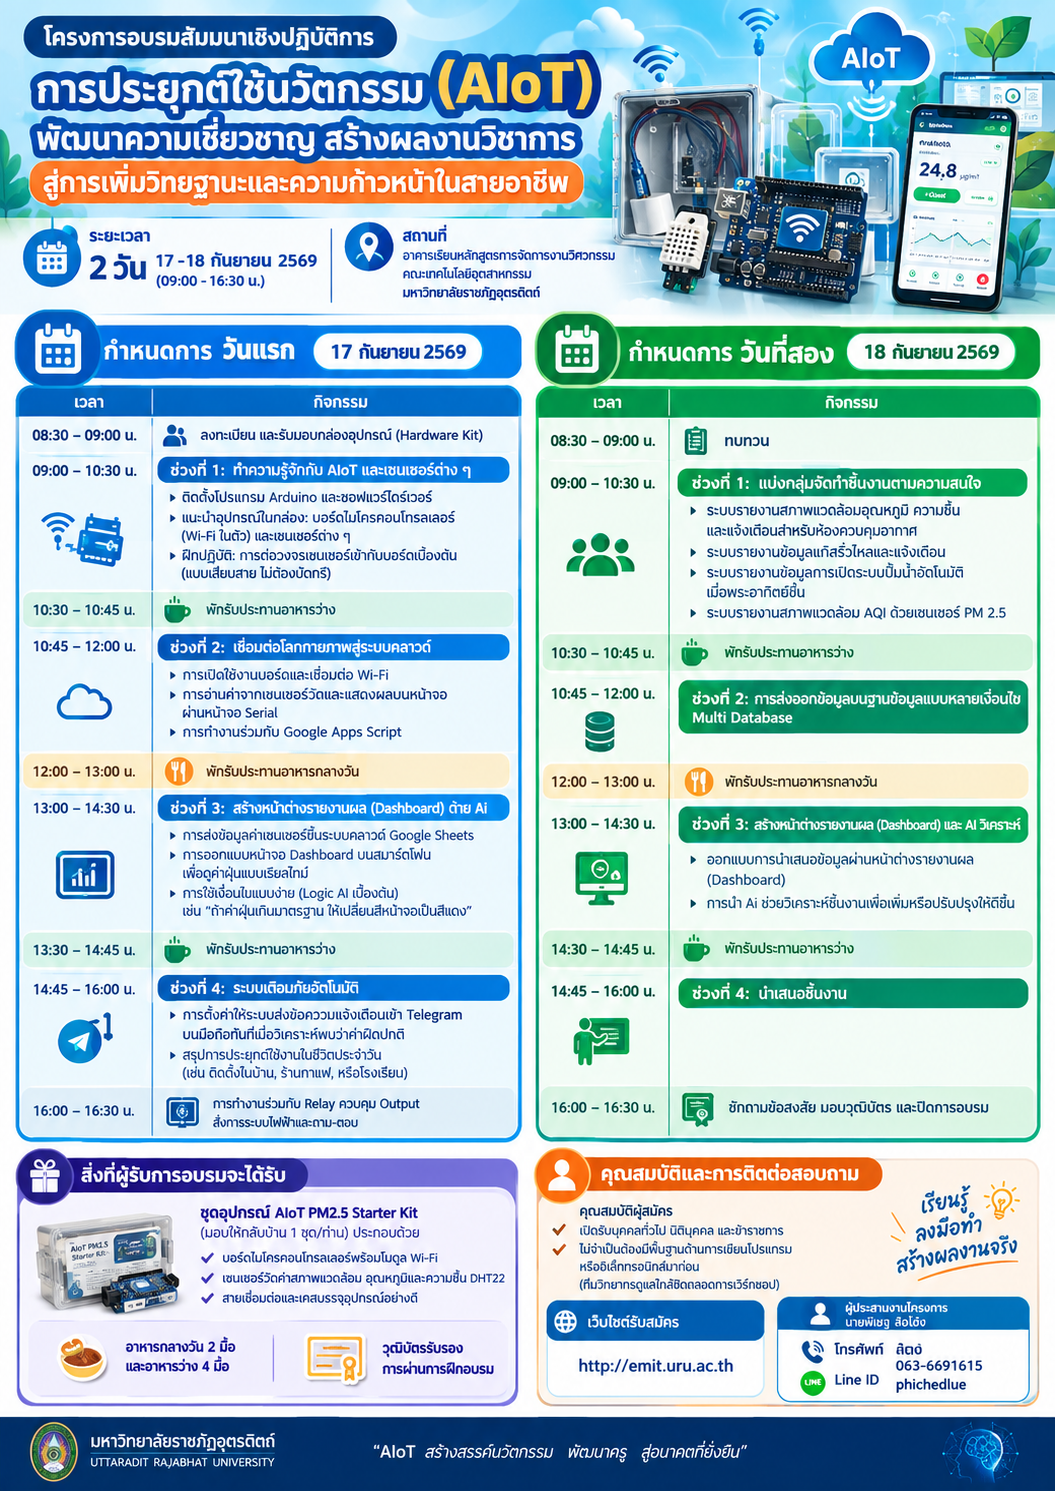
ทำความรู้จักกับ AioT และเซนเซอร์ต่าง ๆ
- ติดตั้ง Arduino และซอฟต์แวร์ Driver
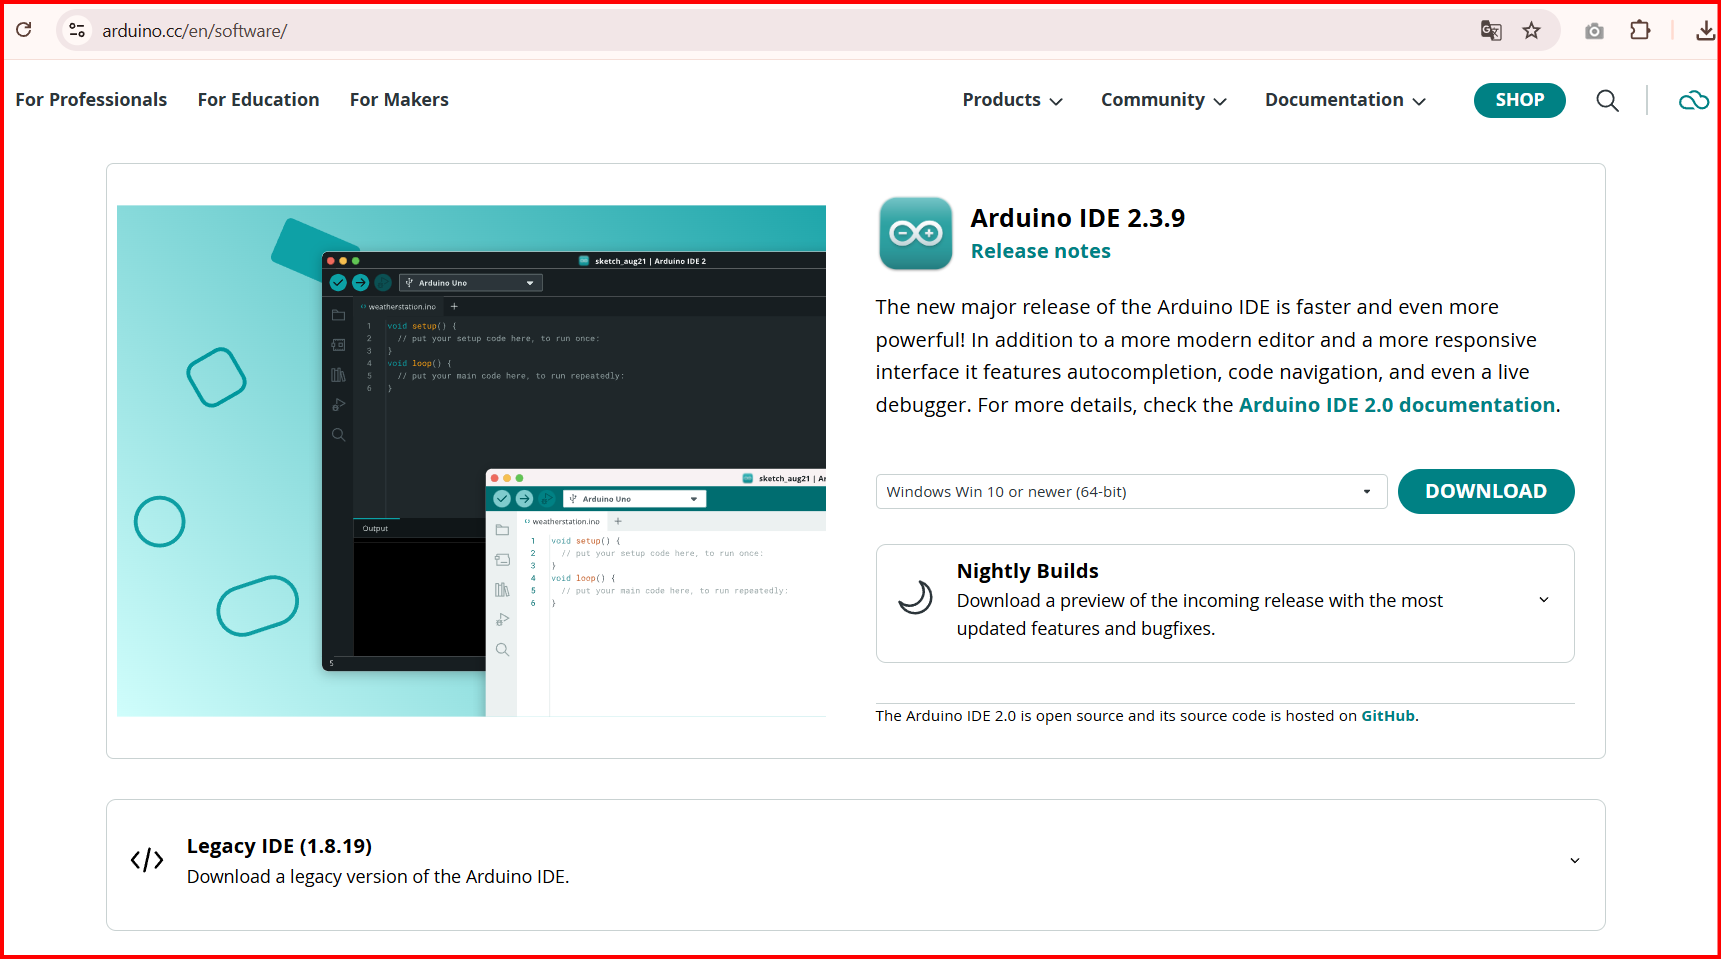
1.1 ทำการ Download โปรแกรม Arduino ได้ที่ https://arduino.cc/en/software/
1.2 เลือก Version โปรแกรมสำหรับ Windows
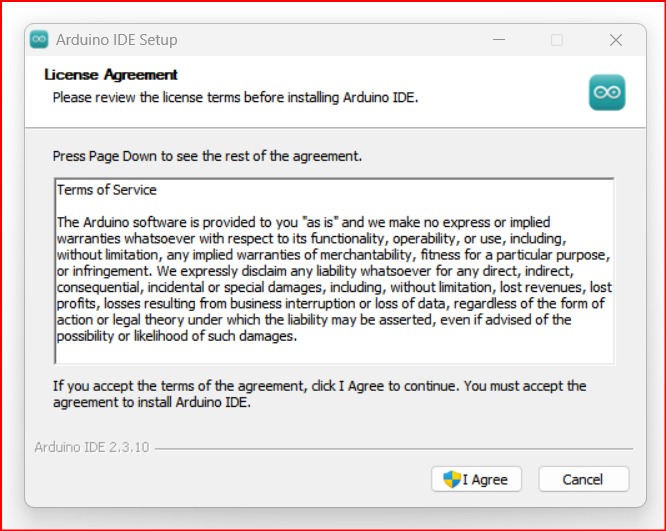
1.3 ติดตั้งโปรแกรมตามขั้นตอน
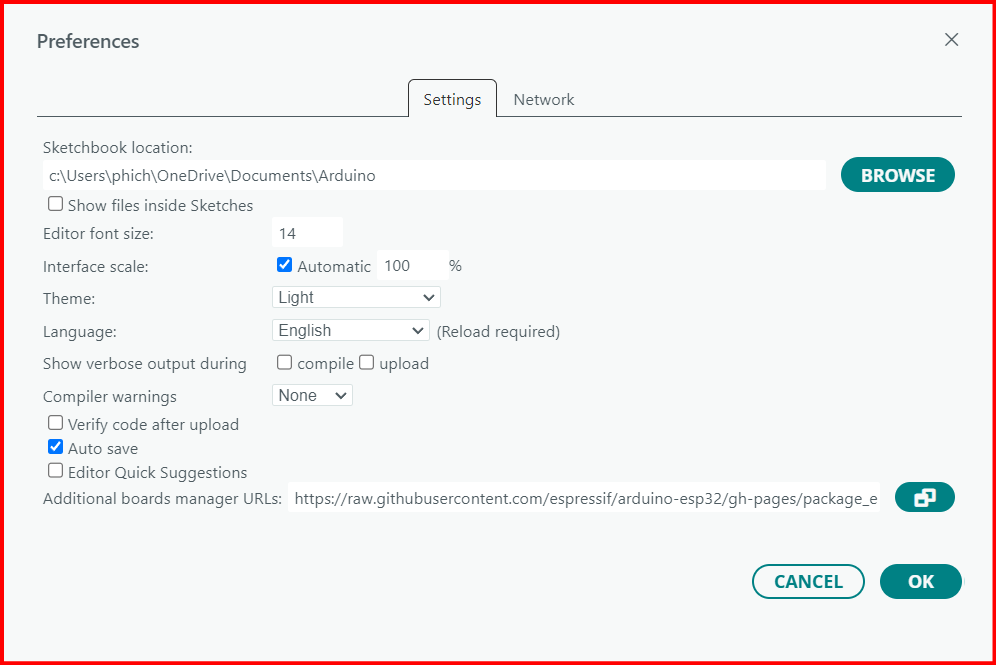
1.4 กำหนดค่าบอร์ด File > Preference ให้นำ Driver สำหรับบอร์ดวางลงไป
https://raw.githubusercontent.com/espressif/arduino-esp32/gh-pages/package_esp32_index.json
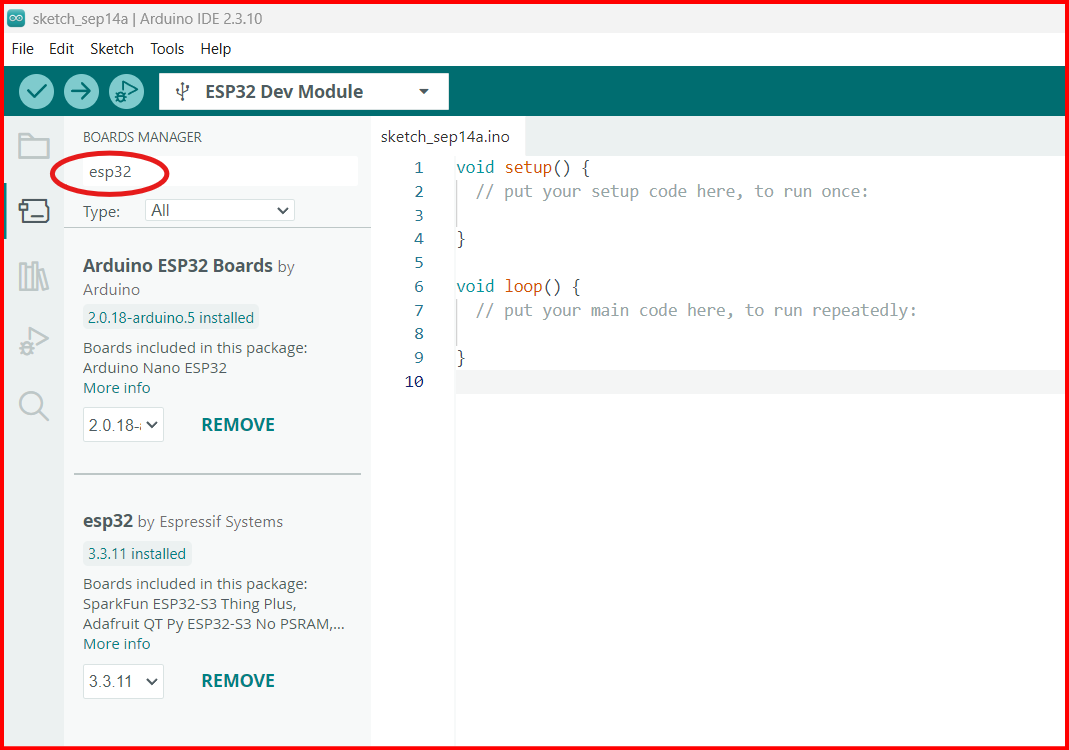
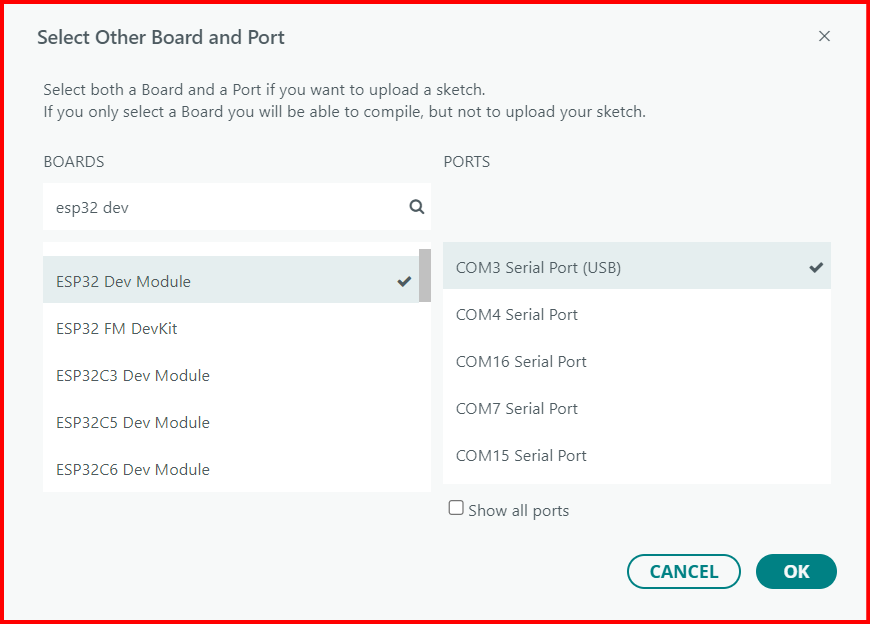
1.5 เมื่อเชื่อมต่อบอร์ดเข้ากับคอมพิวเตอร์ผ่านสาย USB แล้ว ให้เลือกเมนู Select Other Board and Port โดยให้เลือกเป็น
ESP32 Dev Module ส่วน Port เลือกเป็น COM (USB)
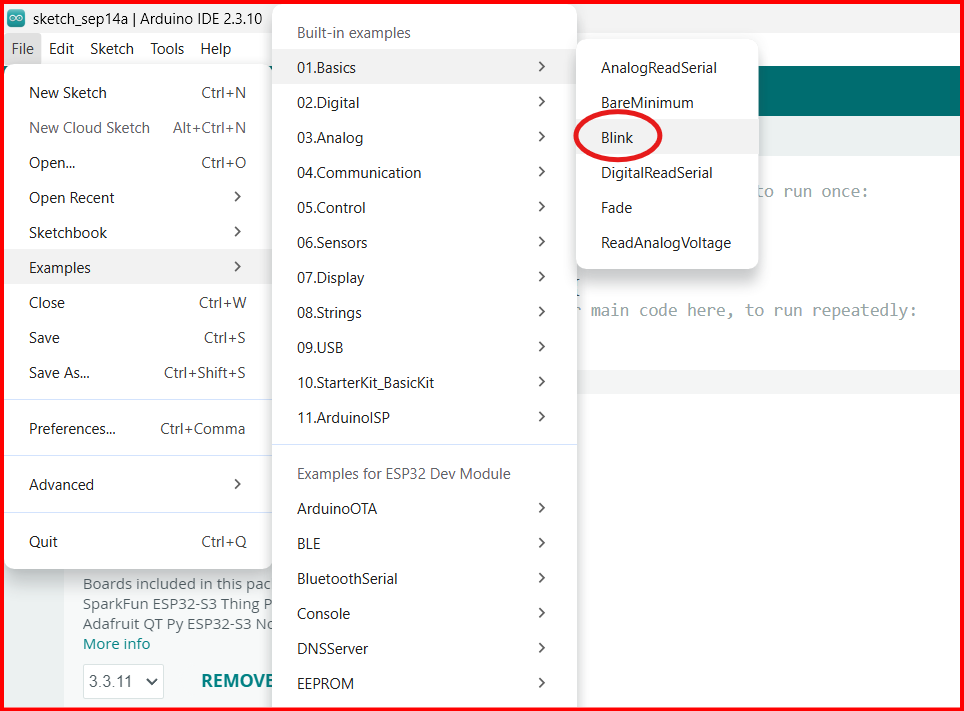
2. ทดสอบการทำงานของบอร์ด
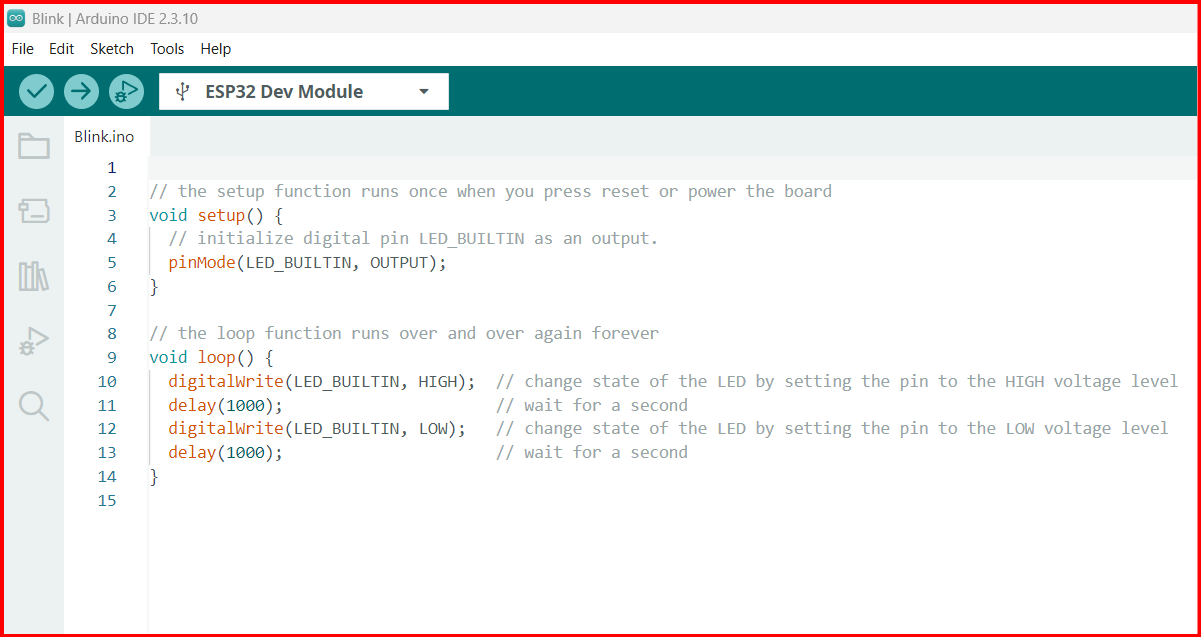
/* Fixed Blink Sketch – no LED_BUILTIN error */
// ==============================
// 👉 SELECT YOUR BOARD PIN HERE:
#define BOARD_LED 13 // ✅ For Arduino Uno / Nano / Mega
// #define BOARD_LED 2 // ✅ For most ESP32 boards
// #define BOARD_LED D4 // ✅ For ESP8266 / NodeMCU
// ==============================
void setup() {
pinMode(BOARD_LED, OUTPUT);
}
void loop() {
digitalWrite(BOARD_LED, HIGH);
delay(1000);
digitalWrite(BOARD_LED, LOW);
delay(1000);
}
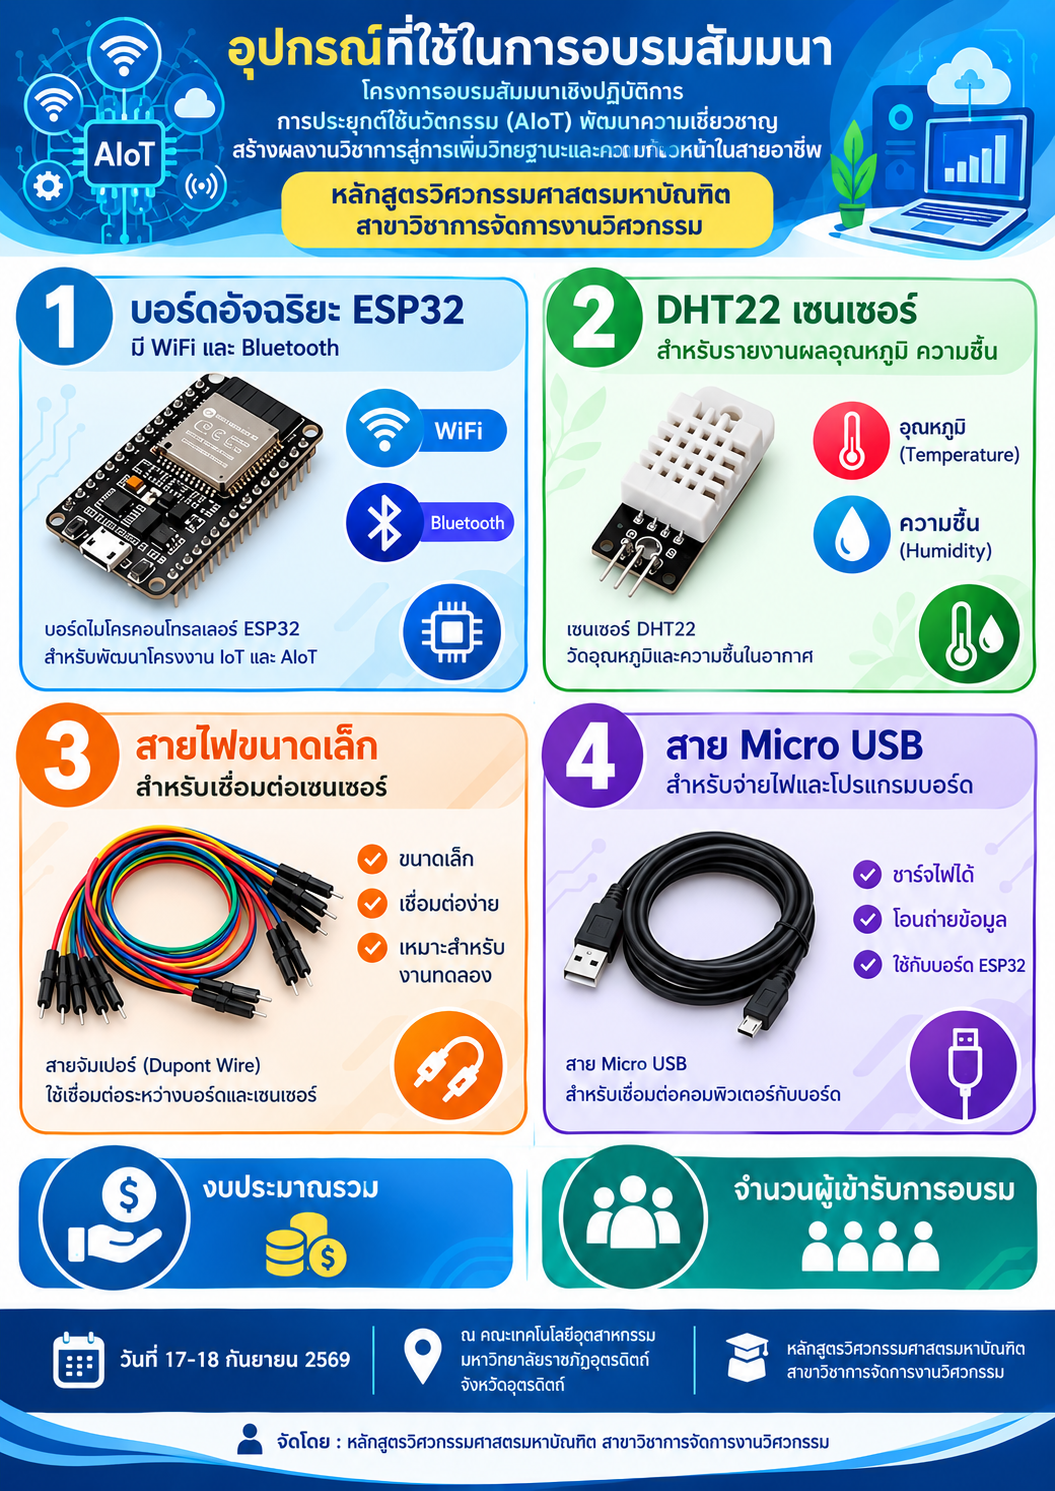
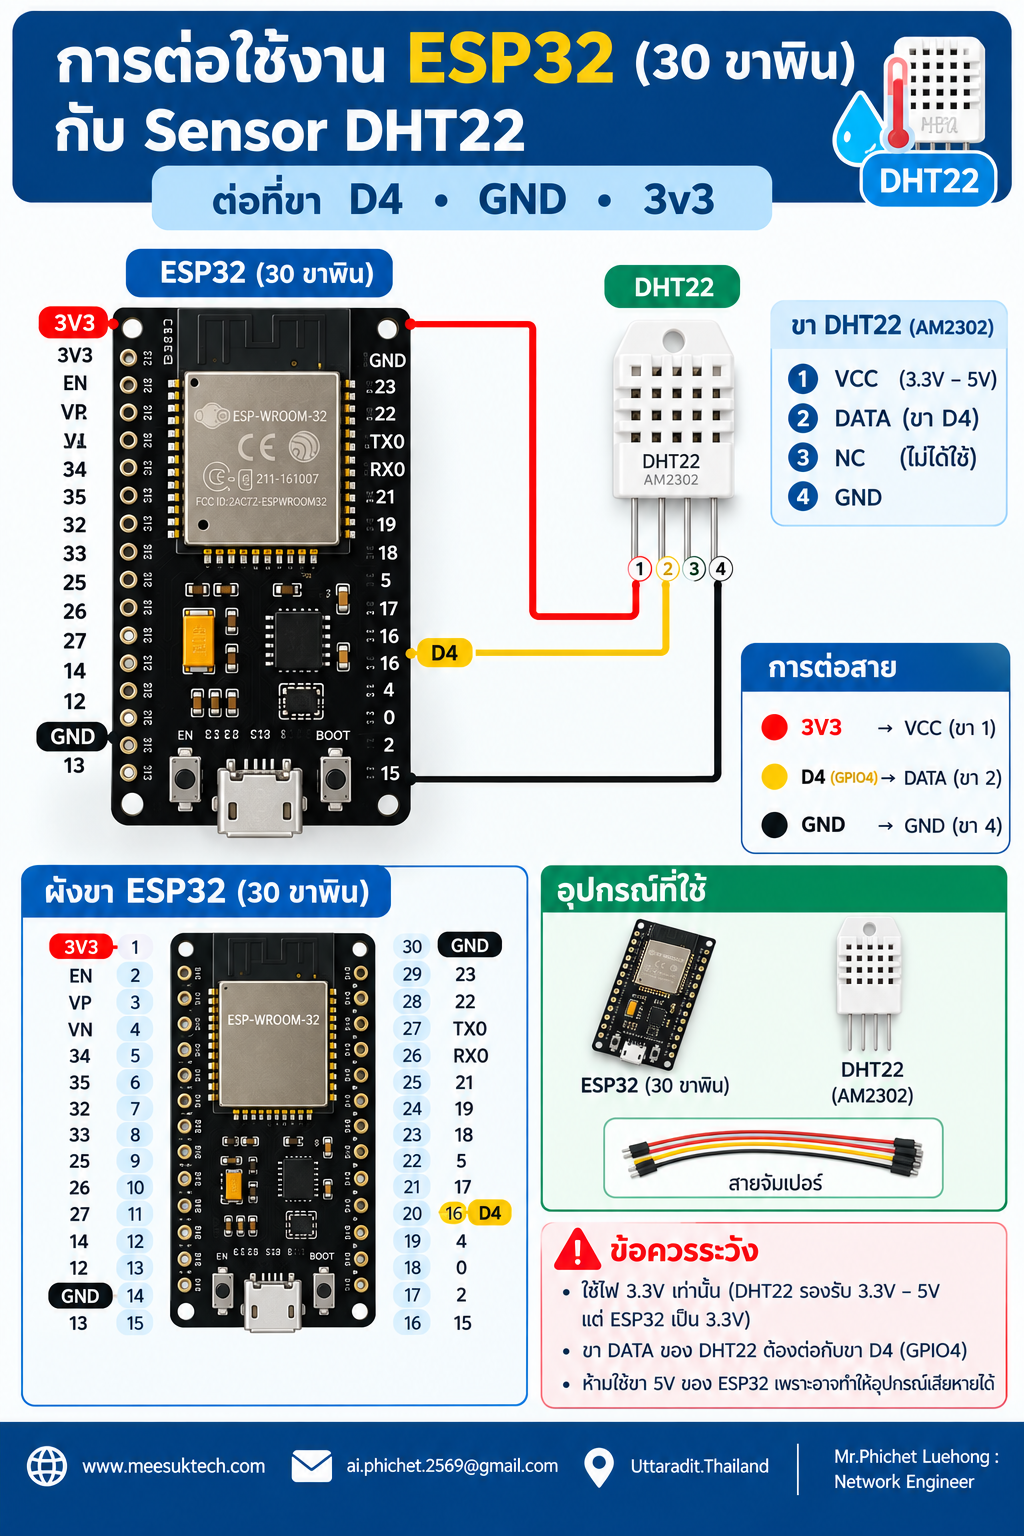
3. อุปกรณ์พื้นฐานที่ใช้
Leave a Reply